
When assessing a dented fender, visually inspect for cracks, bulges, or deformities. For minor dents, consider DIY projects like tire repair or exhaust system fixes. Prioritize professional body shop services for severe cases like brake rotor replacements. Identify the type of dent to select the right DIY method and tools. Use digital calipers and an LED light source for precise measurement and inspection. Ensure safety by gathering necessary tools, protective gear, and a clean workspace.
“Learn how to fix a dented fender with our comprehensive guide designed for select DIY auto repairs. This step-by-step tutorial walks you through assessing the damage, from identifying cracks, bends, and deformities to understanding the tools needed. We’ll then guide you through preparation, safety measures, and a detailed fixing process.
Discover tips for effective DIY auto repair, including choosing the right products, avoiding common mistakes, and knowing when professional help is necessary. Revitalize your vehicle’s exterior and save on costly body shop repairs.”
- Assessing the Damage: Understanding Your Dented Fender
- – Identifying types of fender dents (cracks, bends, deformities)
- – Tools needed for inspection
- Preparation and Safety Measures Before Starting
Assessing the Damage: Understanding Your Dented Fender
When assessing the damage to a dented fender, it’s crucial to understand the extent and type of harm. Start by visually inspecting the fender for any visible cracks, bulges, or deformities. These are clear indicators of the severity of the dent. Some dents may be shallow and easily correctable with simple tools, while others could require more advanced techniques such as welding or professional body shop services.
Knowing your DIY auto repair capabilities is essential. For minor dents, selecting DIY projects like those for fixing a flat tire steps or even a diy exhaust system repair can offer cost-effective solutions. However, for more complex issues like a diy brake rotor replacement, it’s important to consider the safety and quality of the repair to prevent further damage or compromise the vehicle’s performance.
– Identifying types of fender dents (cracks, bends, deformities)
Identifying the type of dent on your fender is a crucial first step in any DIY auto repair project. Common issues include cracks, which can range from shallow nicks to deep, wide splits; bends, where metal has been deformed but not broken; and deformities caused by impacts or collisions.
Each type of damage requires a specific approach for fix cracked windshield safely, check engine light diagnostic, or diy muffler repair, depending on the extent and location of the dent. Cracks, for instance, might be repaired using specialized resins or putty, while bends may need bending back into place with proper tools. Deformities could involve a combination of these techniques or even replacement parts, especially if the fender is severely damaged.
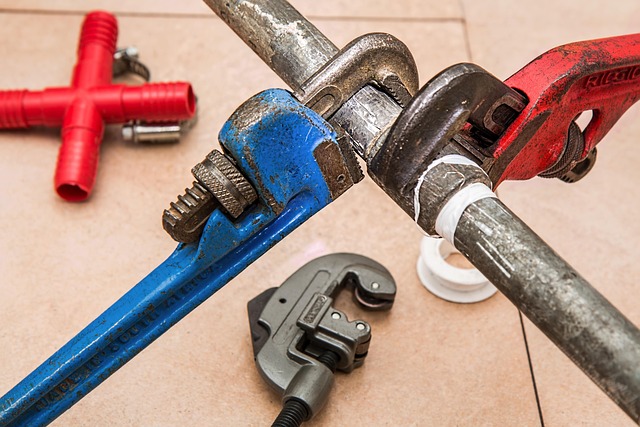
– Tools needed for inspection
When inspecting a dented fender for repairs, the right tools can make all the difference. Begin with a thorough visual assessment using good lighting to identify the extent and location of the damage. Look closely at every angle to ensure there are no hidden dents or creases that might require extra attention later.
For precise measurement and evaluation, invest in a set of digital calipers and an LED light source. Digital calipers allow you to accurately gauge the depth of the dent, which is crucial when determining the repair approach. An LED light can help you see into tight spaces, making it useful for inspecting areas around the fender’s edges or where debris might have become lodged during the impact. Additionally, having a detailing cloth and a can of compressed air on hand will aid in cleaning the affected area before beginning any DIY auto repairs, ensuring that your fix is as effective as possible. Remember, selecting the right tools for the job is a key step in successful do-it-yourself (DIY) auto repairs, especially when addressing dents like those on a fender.
Preparation and Safety Measures Before Starting

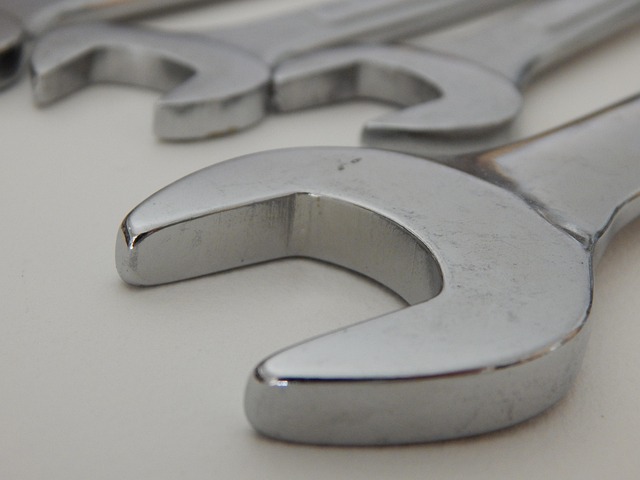
Before tackling any DIY auto repairs, ensuring safety is paramount. When it comes to fixing a dented fender, gather all necessary tools and materials—a must-have for any car owner’s toolkit. This includes items like a hammer, putty knife, automotive paint, and sandpaper. Protect yourself with safety gear, such as gloves and eye protection, as you’ll be handling sharp objects and chemicals. Ensure your workspace is well-lit and clean to maintain precision during the repair process.
Additionally, consider the environment and wear appropriate protective clothing when handling paint and solvents. Remember, proper preparation reduces risks and ensures a smoother, safer DIY experience. With the right tools and safety measures in place, you’re ready to begin your car repair project, whether it’s fixing a dented fender, a misfiring engine (like fixing a common issue with modern vehicles), or even undertaking a task like car window tint installation—all valuable skills for any auto enthusiast considering DIY repairs.
When you’re ready to tackle a dented fender, choosing DIY auto repairs can be a cost-effective and rewarding option. By understanding the damage, gathering the right tools, and taking appropriate safety measures, you can successfully fix minor dents and restore your vehicle’s aesthetic appeal. Remember, with some patience and care, you can navigate this repair process and enjoy a smoother, more satisfying driving experience.