Before DIY auto repairs on a dented fender, assess damage and gather tools/materials. Use accessible methods for minor dents, more complex techniques for severe cases. After repair, prepare and paint the area for optimal aesthetics and protection. Perform final touches, safety checks, and consider related maintenance tasks using Select DIY Auto Repairs.
Are you ready to tackle a common car care issue head-on? Learn how to fix a dented fender with our step-by-step guide, perfect for those looking to take on DIY auto repairs. From evaluating damage and gathering the right materials to removing dents effectively and preparing the repair area for paint, we cover it all. Master the process and save costs while enhancing your vehicle’s appearance.
- Evaluate Damage and Gather Materials
- Remove Dents Using Various Methods
- Prepare and Paint the Repaired Area
- Final Touches and Safety Checks
Evaluate Damage and Gather Materials

Before diving into the repair process, it’s crucial to properly evaluate the extent of the damage on your dented fender. Start by inspecting the fender for any cracks, deformations, or misalignments. Consider both the visible and hidden areas, as some dents can be more severe than they appear from the outside. If you’re unsure about the severity, consult a professional for an initial assessment.
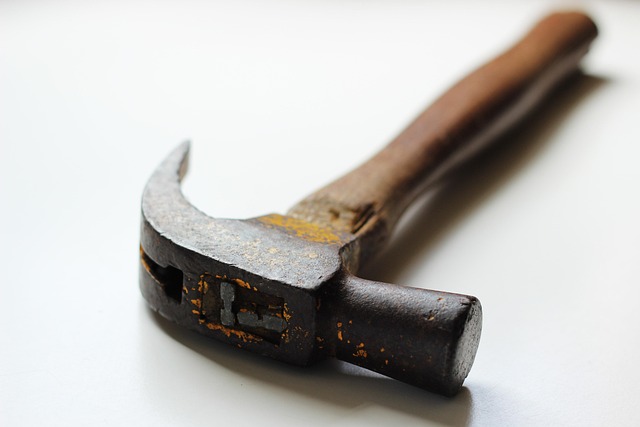
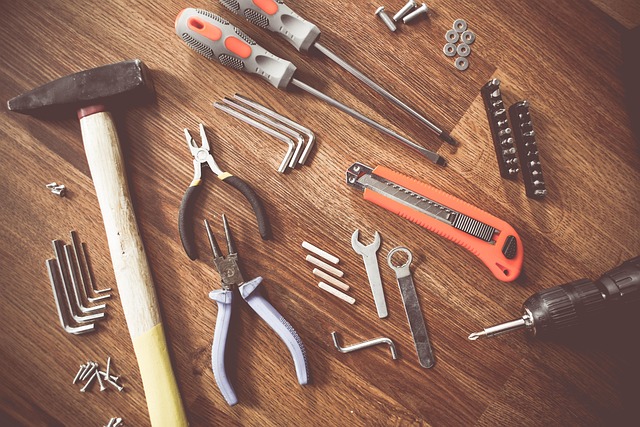
Once you’ve determined the damage, gather all necessary materials for the repair. For simple dents, a set of pliers, a hammer, and some body putty might suffice. More complex issues may require specific tools like a impact wrench or a welder, along with primer, paint, and other finishing supplies. Opting for DIY auto repairs can be cost-effective and satisfying, but selecting the right materials is key to achieving a professional result, much like tackling simple auto repairs for beginners, such as a diy timing belt replacement guide.
Remove Dents Using Various Methods

Removing dents from your fender can be accomplished using various DIY auto repair methods, making it an accessible task for many car owners. One popular approach is using a dent puller or a metal slider tool, which applies suction or pressure to pop out the dented area. This technique is relatively simple and effective for smaller dents, allowing you to achieve a smooth finish without professional assistance.
Alternatively, for more severe cases, pounding the dent out with a mallet and using putty or body filler can be considered. After smoothing the surface, primer and paint can be applied to match the fender’s original color. Remember, selecting the right DIY auto repairs tailored to your needs is key, whether you’re dealing with a simple dent or more complex issues like car battery charging problems or even fixing a misfiring engine, there are solutions available for every automotive enthusiast.
Prepare and Paint the Repaired Area

After successfully repairing your dented fender using either DIY methods or professional services, the next step in the process is to prepare and paint the repaired area for optimal aesthetics and protection. Begin by thoroughly cleaning the surface to remove any dirt, grease, or debris that may have accumulated during the repair. This ensures a clean canvas for painting.
Once the area is squeaky clean, it’s time to select the right primer and paint tailored to your vehicle’s make and model. Using the correct products for your specific car ensures a seamless finish that matches the original color perfectly. Applying the primer evenly helps create a smooth base for painting, while adhering to proper drying times between coats guarantees a long-lasting, professional-looking repair—a great option for those considering DIY auto repairs alongside fixing a blown head gasket or performing an engine tune-up at home. Remember, selecting the right tools and materials is key when it comes to repairing and finishing your vehicle’s body, including tasks as diverse as repairing a loose steering wheel.
Final Touches and Safety Checks
After meticulously repairing and painting your dented fender, it’s time to perform some final touches and safety checks. Start by inspecting the entire car for any overlooked dents or scratches that might have been missed during the repair process. Use a soft cloth to buff out any remaining paint imperfections for a smooth, professional finish. Ensure all hardware is securely fastened, including screws, bolts, and brackets. Double-check the alignment of the fender with the car’s body to maintain proper clearance and prevent future issues.
Additionally, consider performing some basic maintenance tasks like checking your car brake bleeding levels (if you’ve recently replaced any brake components), replacing worn-out spark plugs without tools (for improved fuel efficiency), or restoring old car interior elements for a more comfortable ride. Select DIY auto repairs that align with your skills and comfort level to save costs and gain valuable insights into vehicle maintenance.
Repairing a dented fender can be a rewarding DIY auto repair project, allowing you to select the most suitable method for your needs and budget. By carefully evaluating the damage, choosing the right tools, and following the steps outlined in this guide—from removing dents to final safety checks—you can restore your vehicle’s exterior to its former glory. Remember, when considering DIY auto repairs, it’s crucial to prioritize safety and quality. With the right approach and materials, you can confidently tackle minor repairs like dented fenders, enhancing both your vehicle’s aesthetics and your skills as an auto enthusiast.